QR / Barcode Scanner
How to add and configure a QR / Barcode Scanner field in the Notebook Editor.
What This Field Does
A QR / Barcode Scanner captures barcode and QR code data using the device camera on mobile platforms. It supports 13 barcode formats including QR Code, Code 128, EAN-13, UPC-A, Data Matrix, and PDF417. Use it for linking physical artefacts (bagged finds, sample tubes, equipment, storage location) to digital records via pre-printed labels.
Note: This field is mobile only. It is non-functional on the desktop web app, where the interface is disabled. If your notebook will be used on both mobile and desktop platforms, pair this field with a FAIMS Text Field so desktop users can enter the code manually.
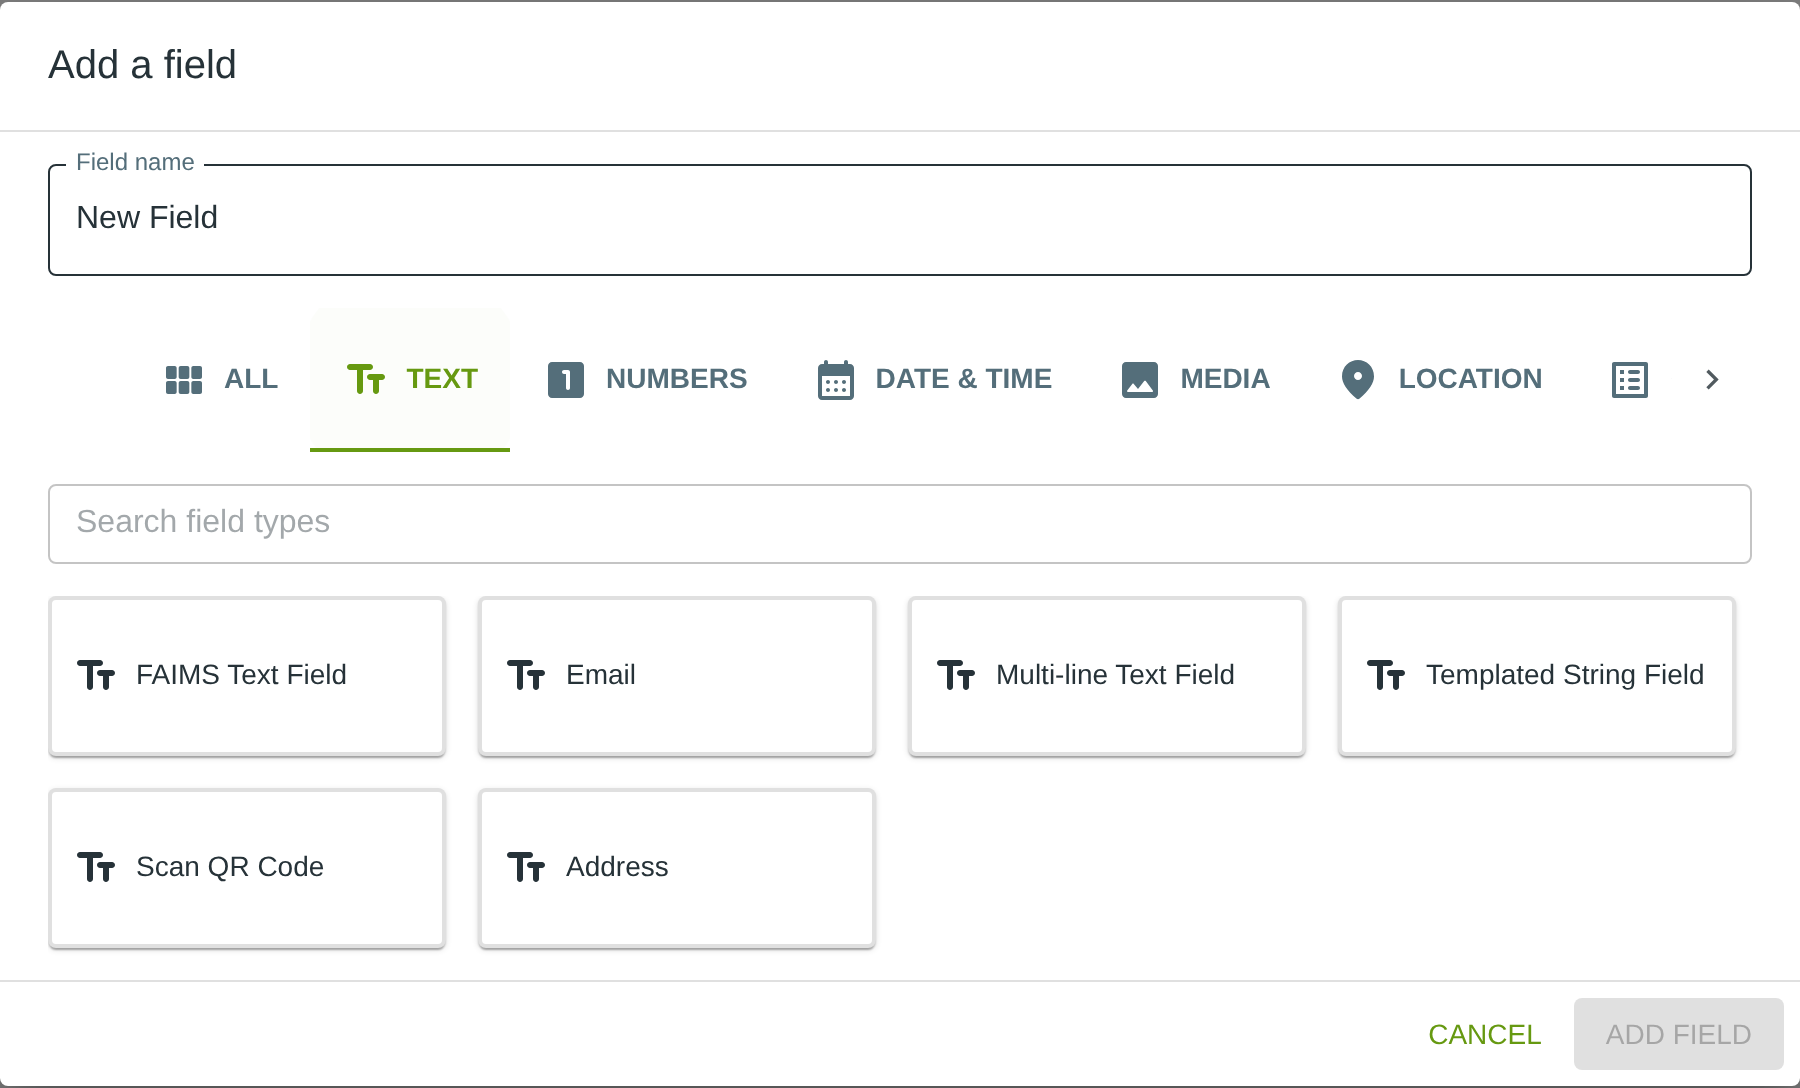
Adding the Field
To add this field, open the ADD A FIELD dialog, navigate to the TEXT tab, and click the QR / Barcode Scanner card. Then click the ADD FIELD button in the lower right.
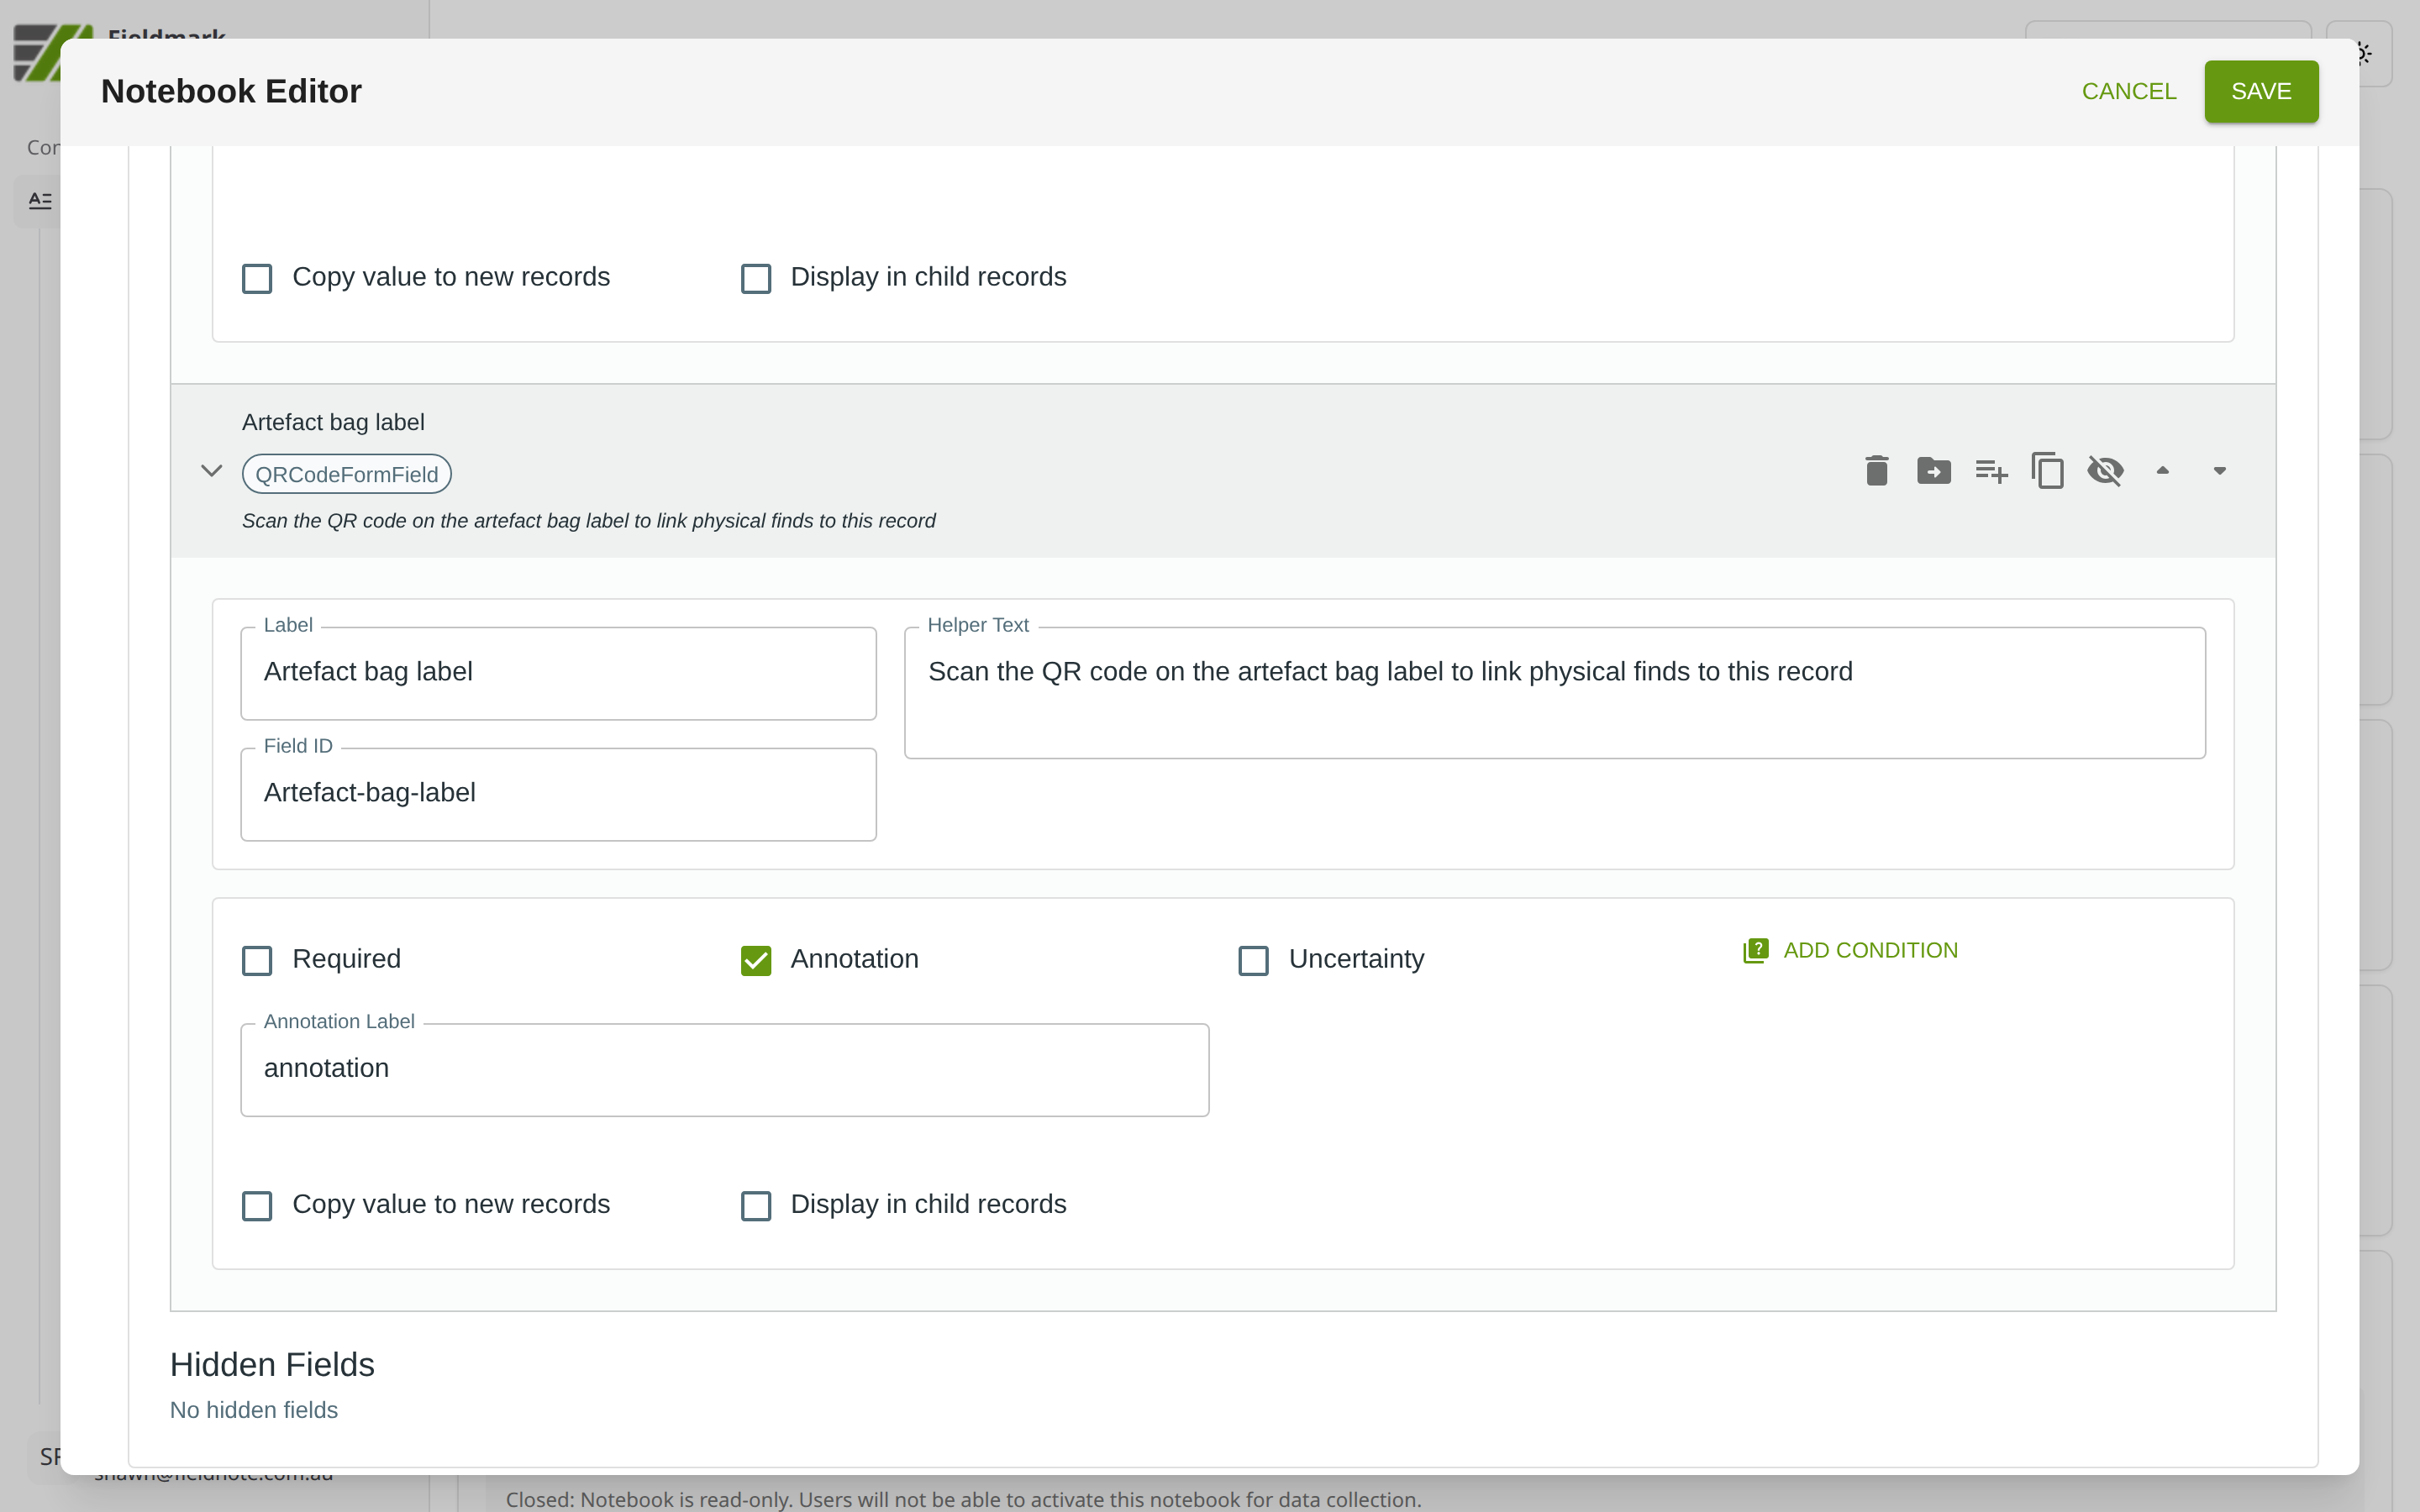
Configuring the Field
Click the field’s grey header bar to expand it and see its settings. For an overview of the settings shared by all fields — including Label, Helper Text, Field ID, and the field toolbar — see Field Identity and Field Toolbar.
Give the field a meaningful Label, review the auto-populated Field ID, and add any desired Helper Text.
Tips
Always pair with a FAIMS Text Field for manual entry fallback. This ensures desktop users and users with camera issues can still enter the barcode or QR value manually.
Test with your actual labels before deploying to the field. The scanner accepts multiple barcode formats, but performance varies with label size, print quality, and lighting conditions.
The scanner validates by reading the same value 10 consecutive times before accepting it. Hold the device steady over the barcode for 3–4 seconds. If a different barcode enters the frame, the count resets silently.