Activating your Notebook
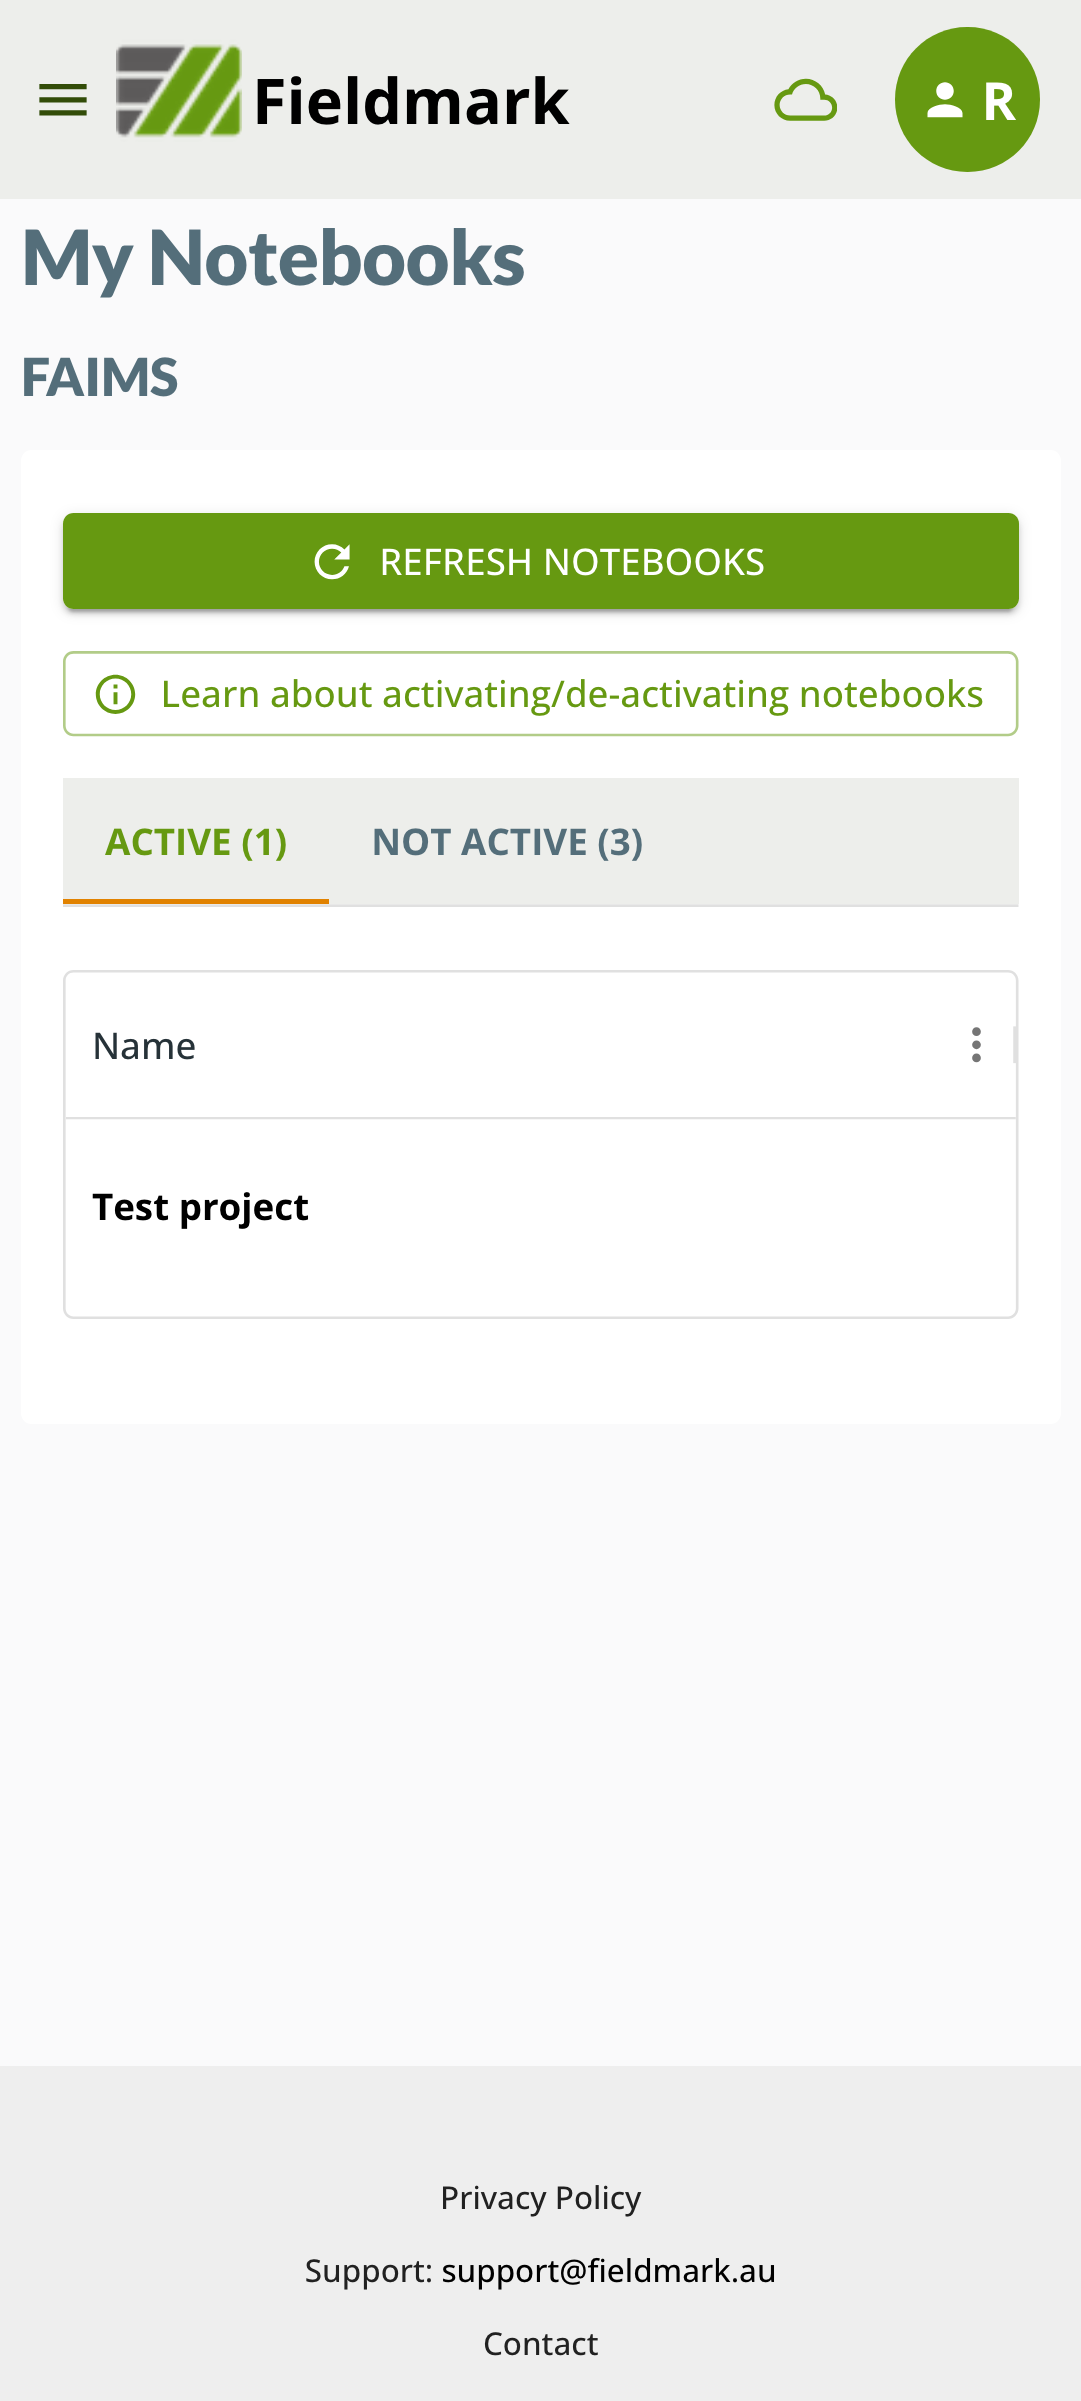
After registering or logging in, you will see the main workspace screen in the app that shows the notebooks that you have access to and those that you are working on:
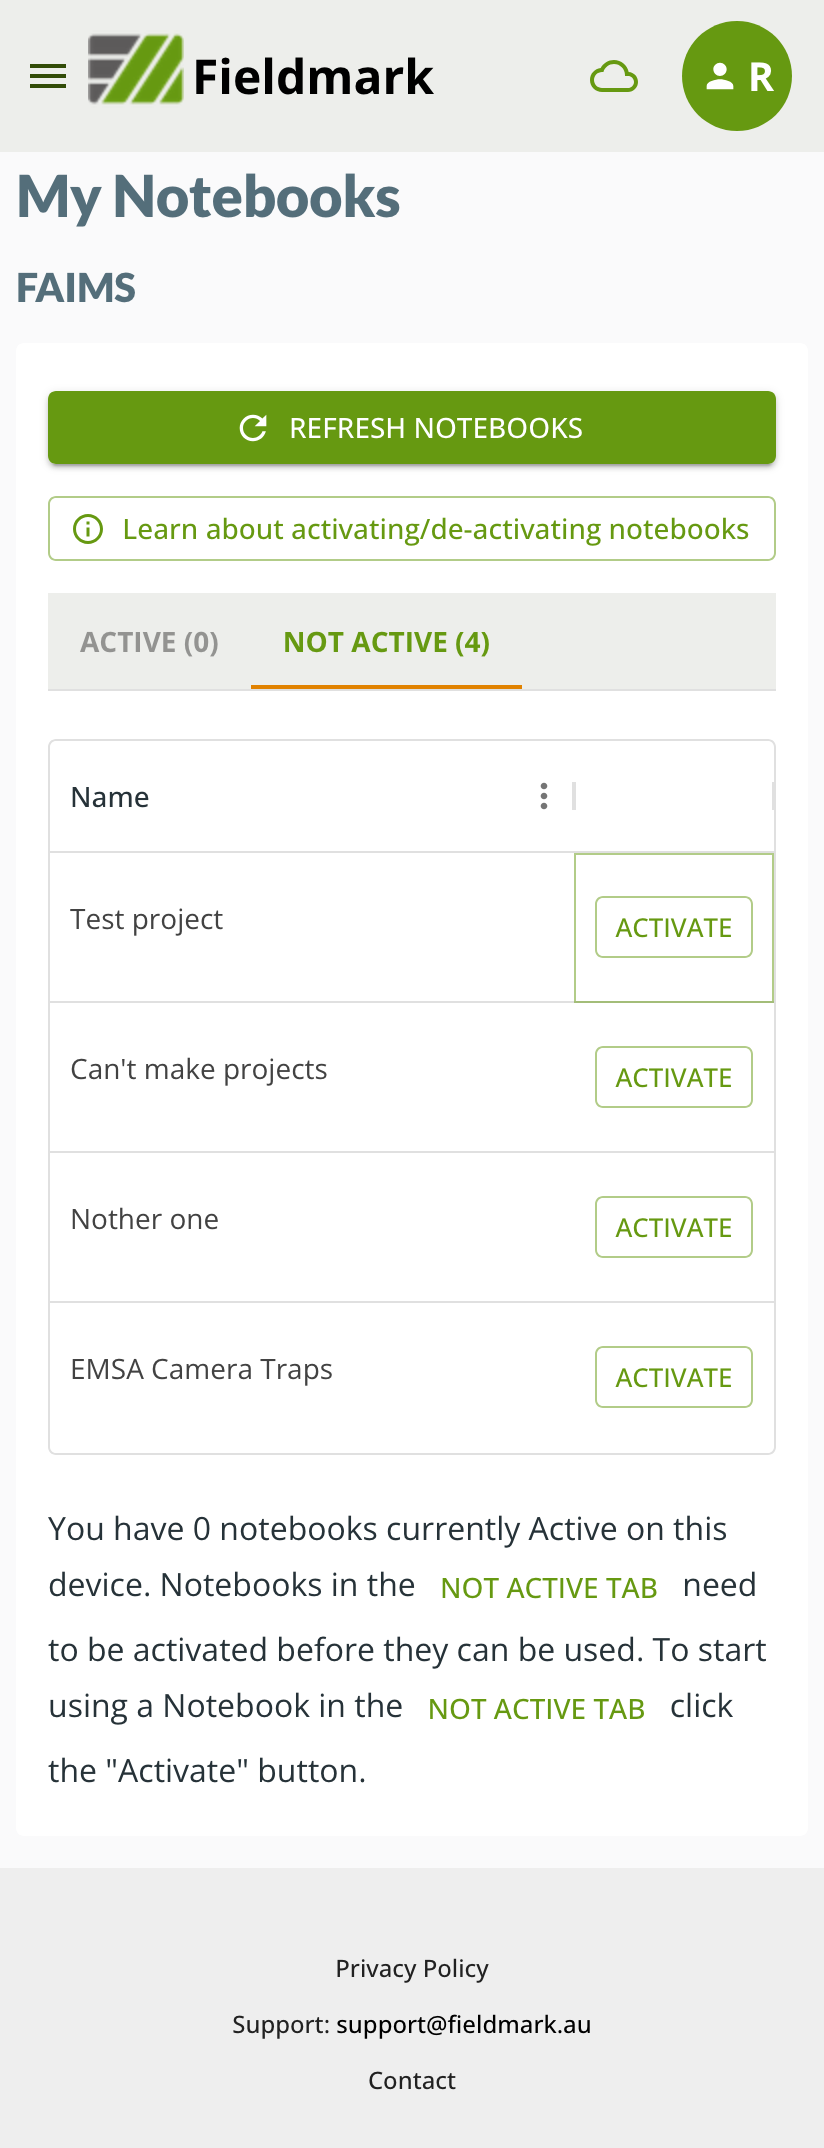
A notebook needs to be activated on your device in order for you to be able to collect data.
To activate a notebook click on the Activate button next to the notebook.
Activating the notebook will create the required databases on your device and begin the synchronisation process that links your device to the server to save your data.
Note
Large notebooks with numerous records and attachments may take some time to synchronise.
Once activated, you can begin to create records in your notebook and these will be automatically saved to the server. You may also be able to see records from other users, depending on your role with respect to this notebook.
Once activated, your notebook will appear in the Active list in your workspace.