Notebook Administration
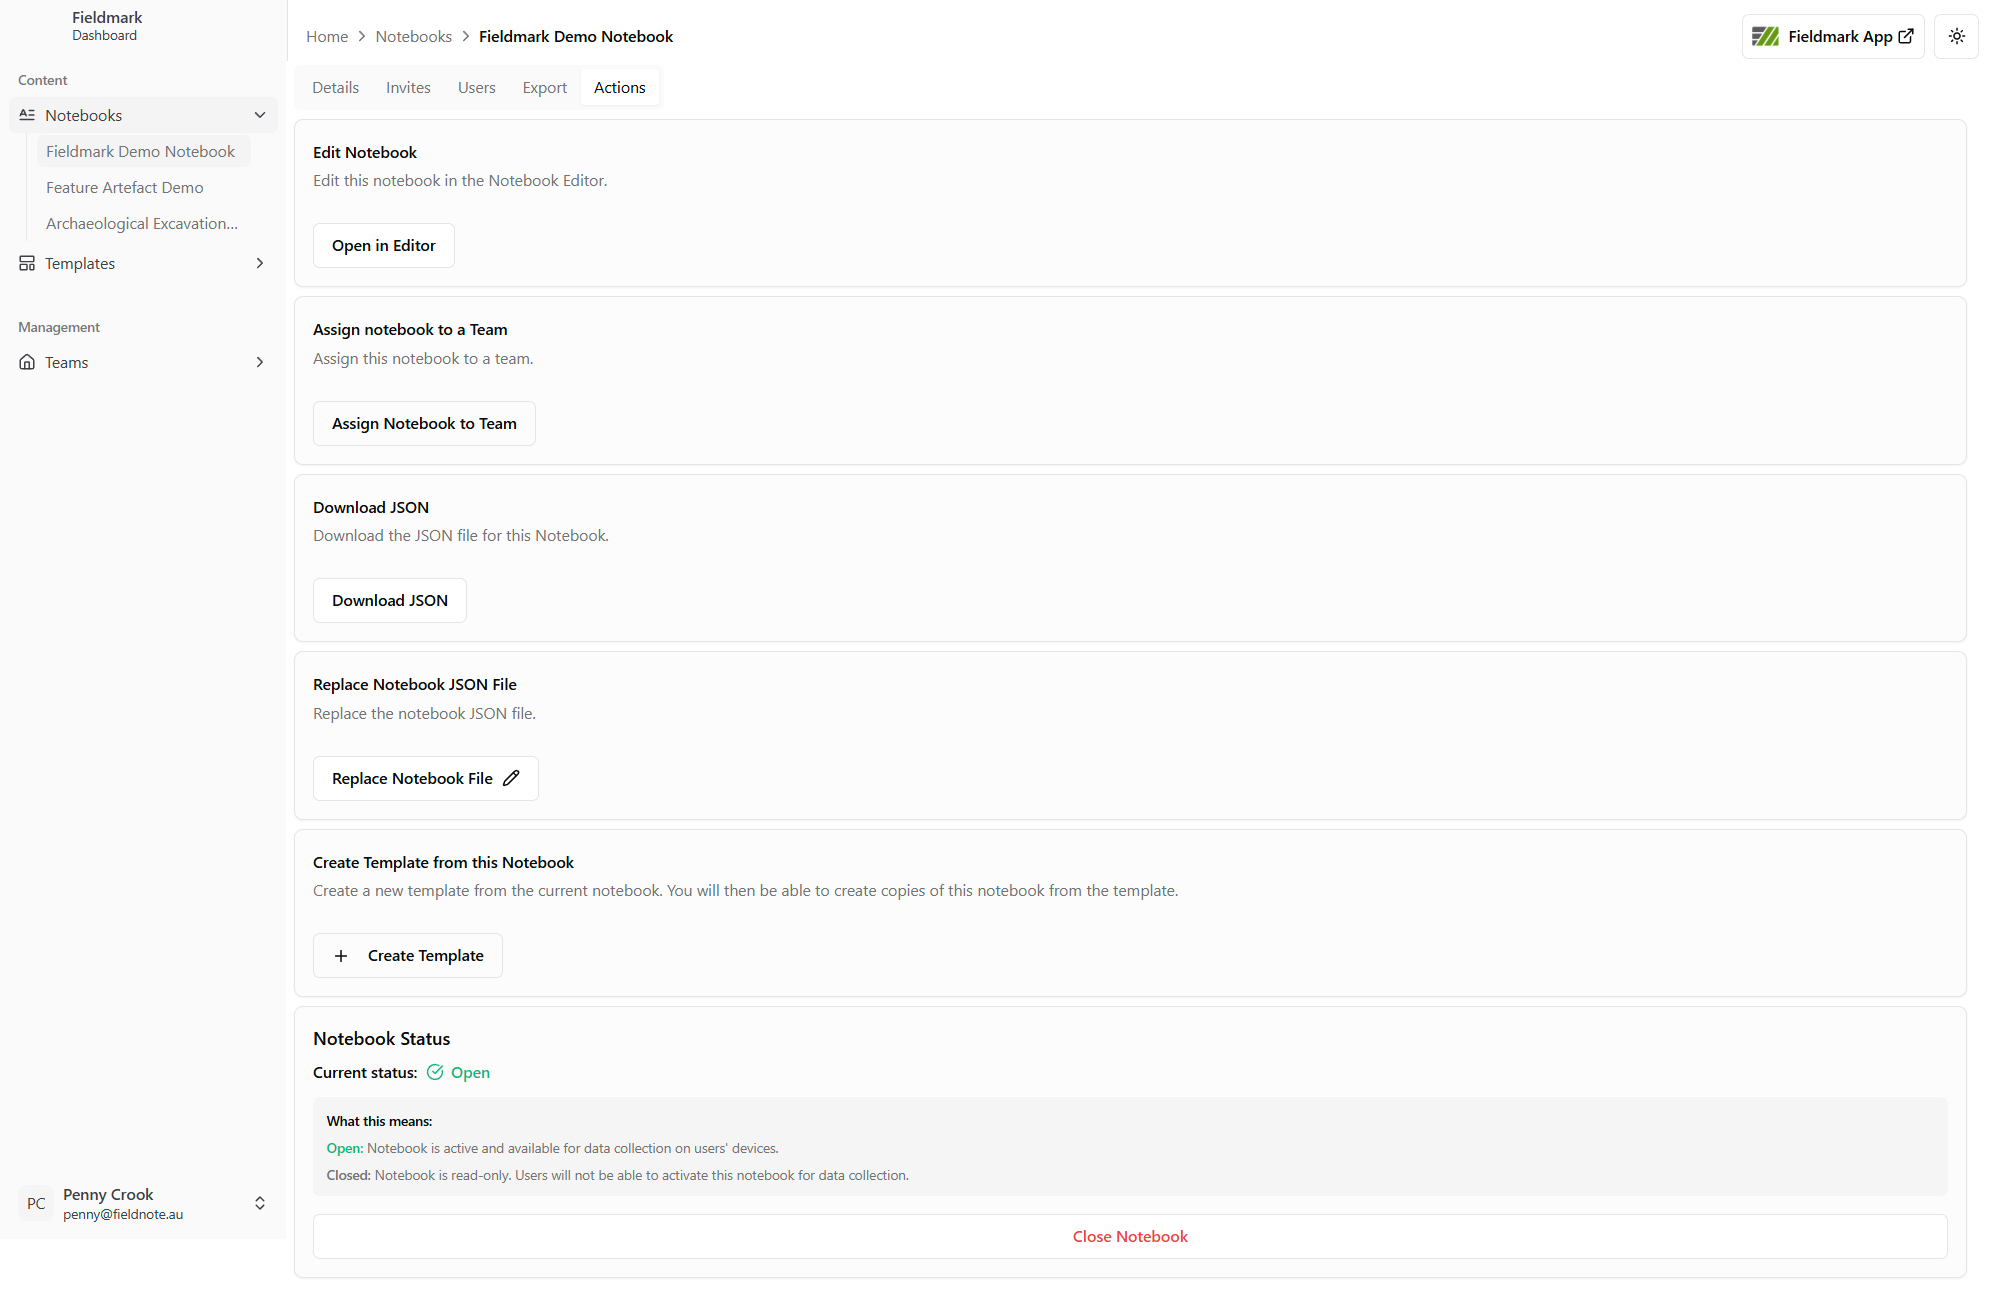
From the Actions tab of the Notebook Dashboard, you can:
Edit your Notebook
Assign your Notebook to a Team
Download the JSON file for the Notebook
Replace the JSON file for the Notebook
Create a Template from this Notebook
Check the Notebook status
Edit your Notebook
Click to open the Notebook design in the Fieldmark Notebook Editor.
For more about editing Notebooks see Getting Started as a Notebook Designer.
Assign your Notebook to a Team
Click to assign your Notebook to a different team:
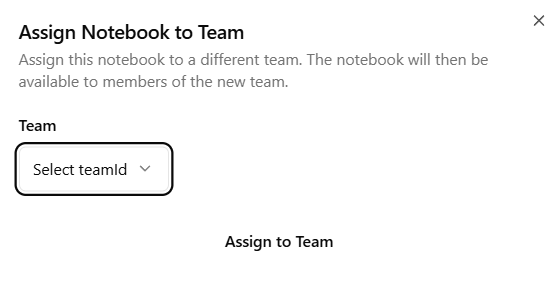
The Notebook will then be available to members of the new team.
Download your Notebook definition file
Click to download a copy of your Notebook’s definition file in JSON format.
Downloaded JSON files can be uploaded to a different Fieldmark Server at a future time.
Replace the JSON file for the Notebook
Use this option to replace the Notebook’s definition file with a new JSON file.
Caution! Errors in the new JSON file may cause loss to data already captured in the Notebook.
Create a Template from this Notebook
Click to use this Notebook design as a new Template.
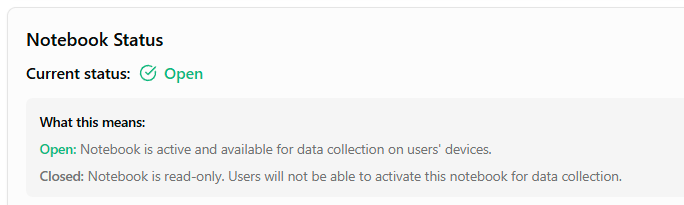
Check the Notebook status
The status of your Notebook appears at the bottom of the Actions tab of the Dashboard: