Checkbox
How to add and configure a Checkbox field in the Notebook Editor.
What This Field Does
A Checkbox Field provides a toggle that stores a boolean value — checked (true) or unchecked (false). Use it for presence/absence indicators, consent acknowledgements, procedural confirmations, or data quality flags. Unlike other choice fields (e.g., Select Field, Select Multiple), a Checkbox captures a single yes/no state rather than a selection from a list.
Adding the Field
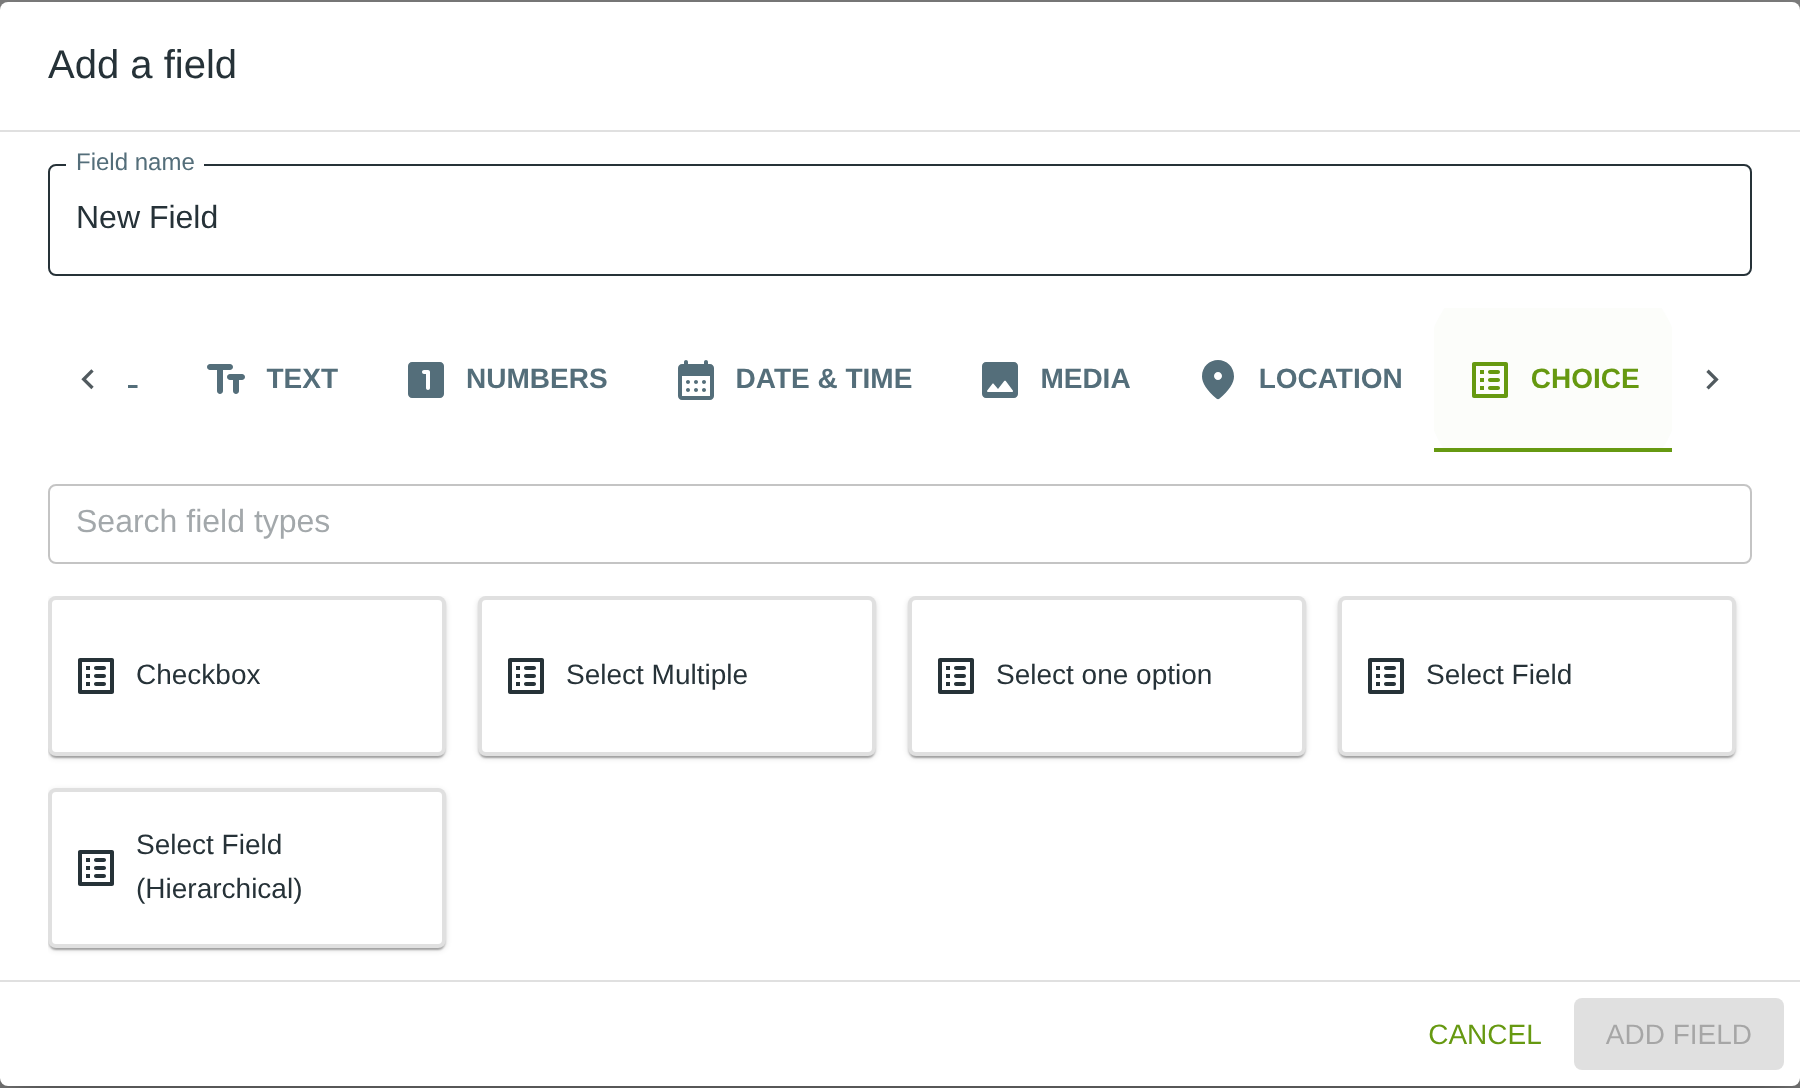
To add this field, open the ADD A FIELD dialog, navigate to the CHOICE tab, and click the Checkbox card. Then click the ADD FIELD button in the lower right.
Note: The CHOICE tab may not be visible in the tab bar initially — click the › arrow button on the right side of the tab bar to scroll until it appears.
Configuring the Field
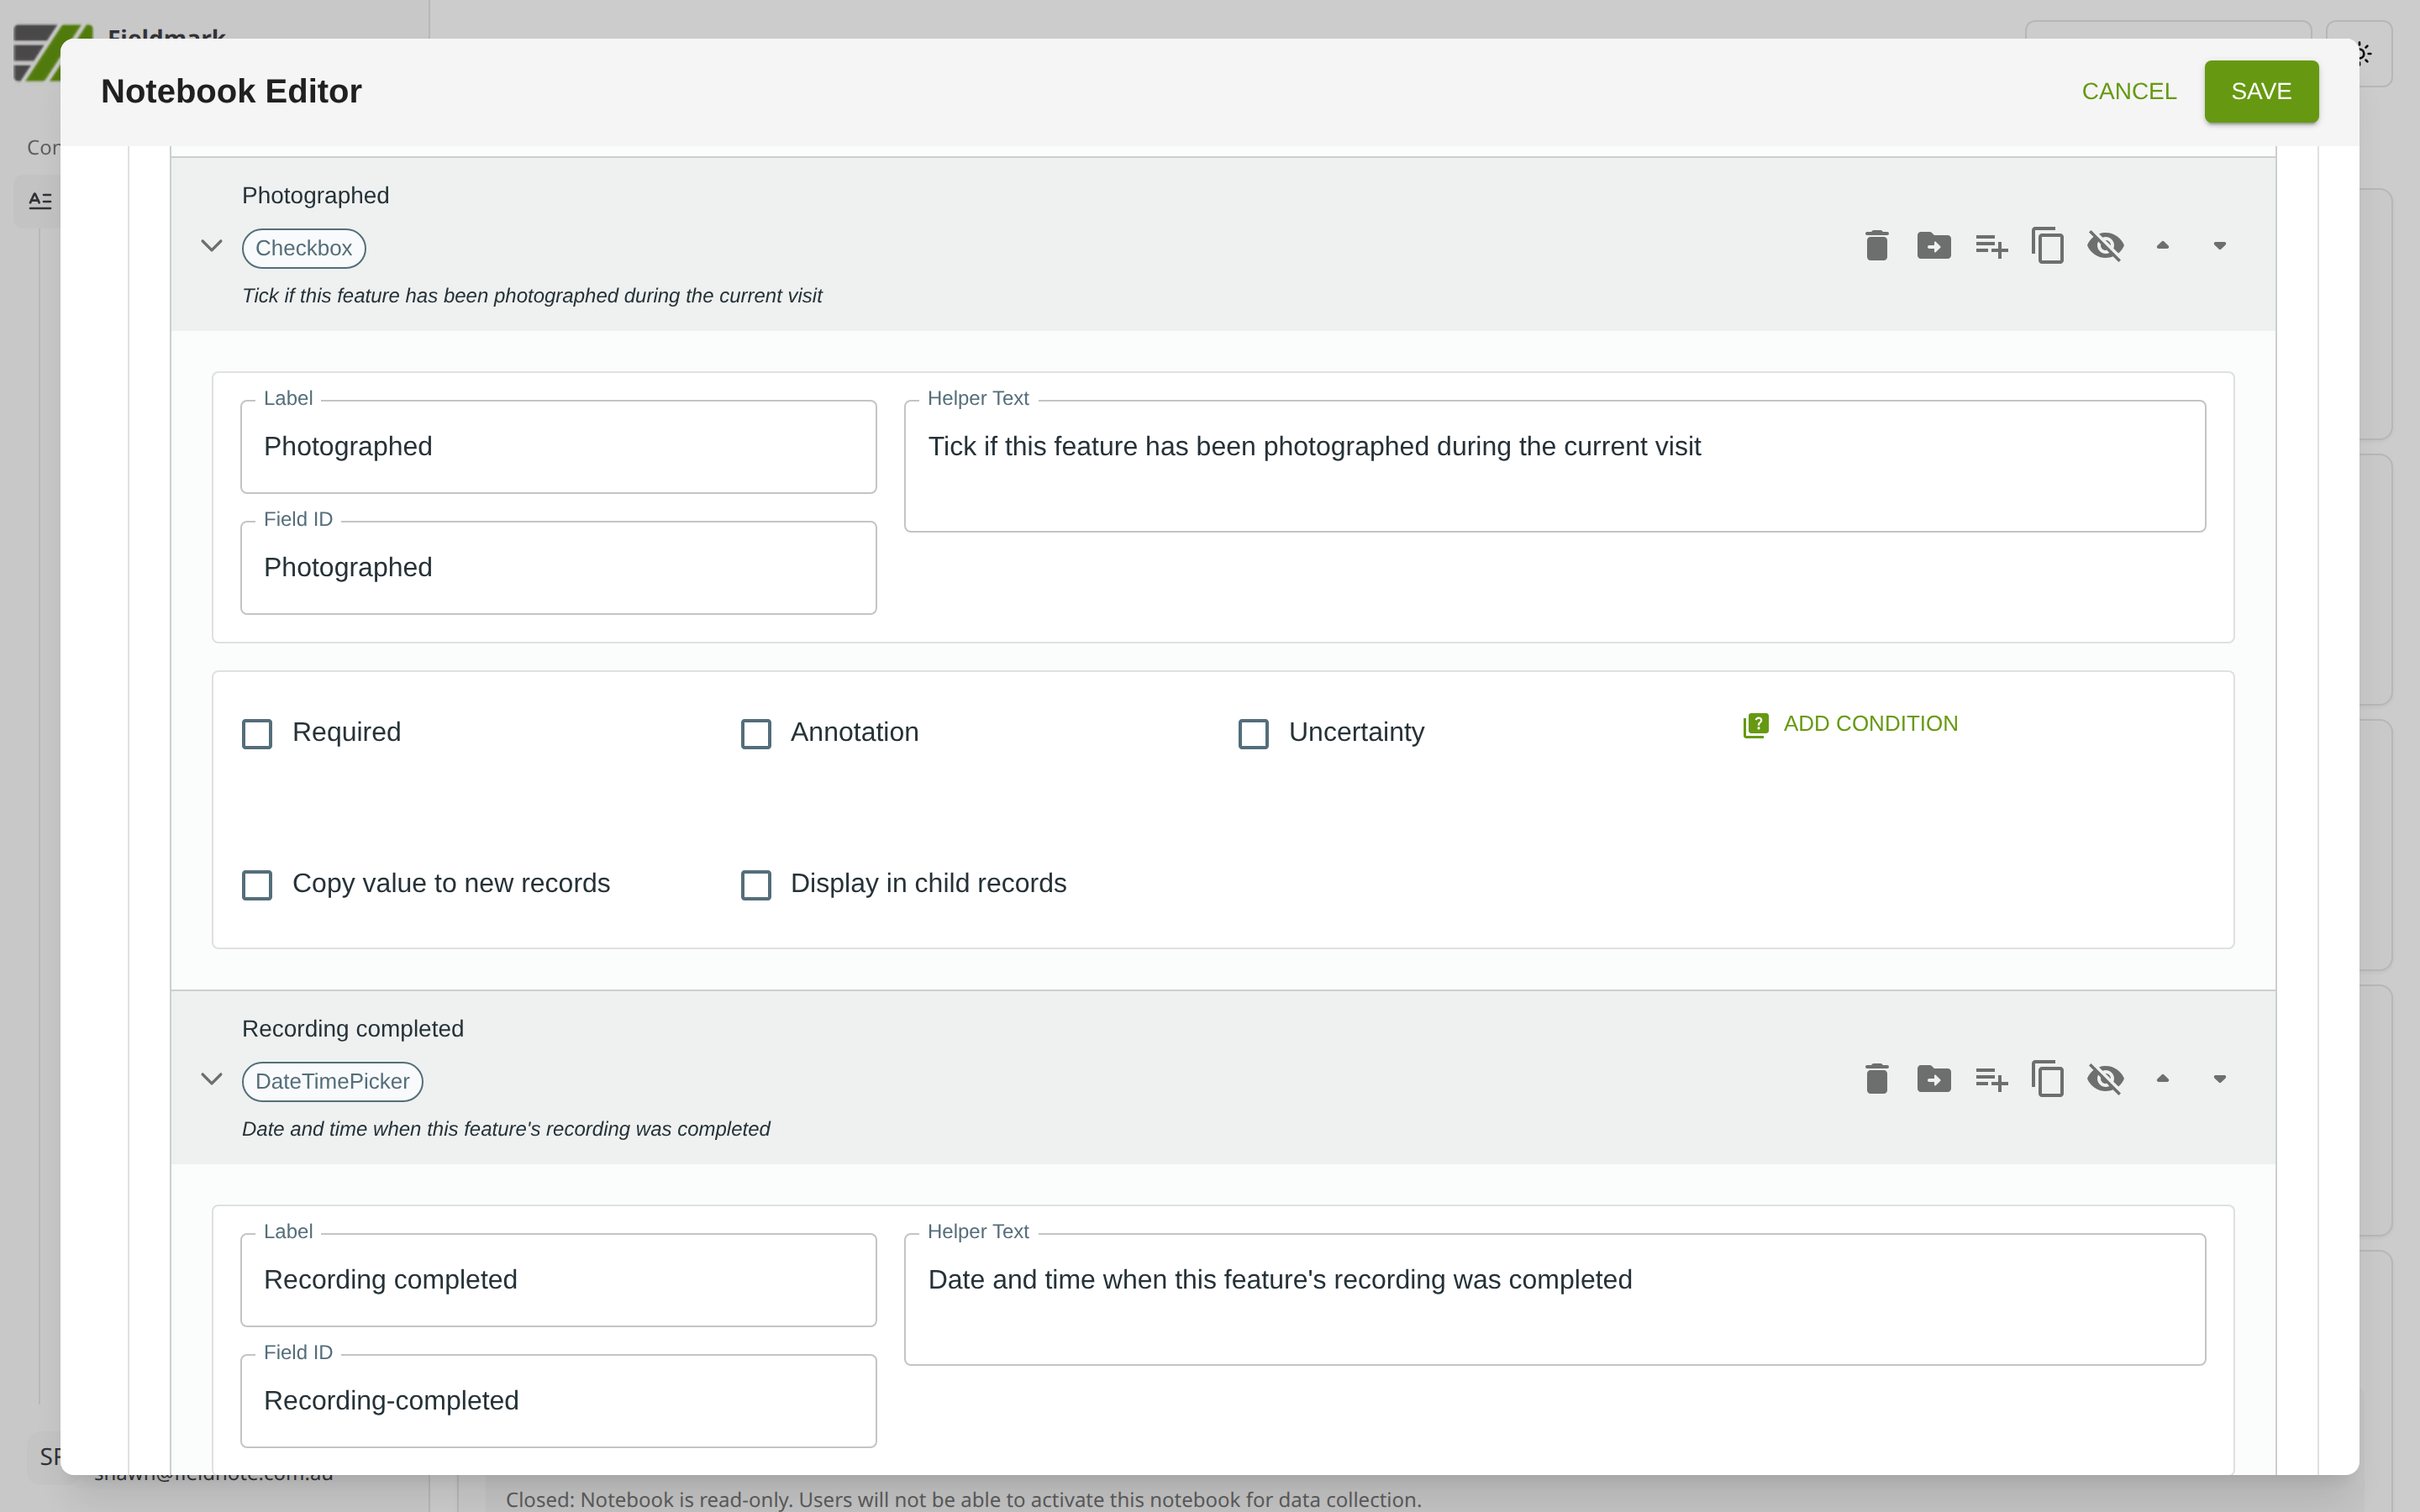
Click the field’s grey header bar to expand it and see its settings. For an overview of the settings shared by all fields — including Label, Helper Text, Field ID, and the field toolbar — see Field Identity and Field Toolbar.
Give the field a meaningful Label, review the auto-populated Field ID, and add any desired Helper Text.
Tips
“Required” does not mean “must be checked.” Marking a Checkbox as Required prevents a null (unanswered) state but still allows the collector to leave it unchecked (false). If you need to force a checked state (e.g., for consent forms), this must be configured via JSON validation rules.
For questions with more than two states (e.g., “yes / no / unknown”), use a Select Field or a ‘Select one option’ field instead of a Checkbox.
Checkbox is ideal for quick binary flags during rapid data collection — presence/absence of charcoal, bioturbation observed, safety check completed.
Enable Annotation and Uncertainty if collectors might need to qualify their answer, such as noting “could not confirm — poor visibility”.