Email
How to add and configure an Email field in the Notebook Editor.
What This Field Does
An Email Field provides a single-line text input with built-in email format validation. On mobile devices, it automatically opens the email keyboard (with @ and .com keys). Use it for contact email addresses, researcher emails, or notification addresses.
Adding the Field
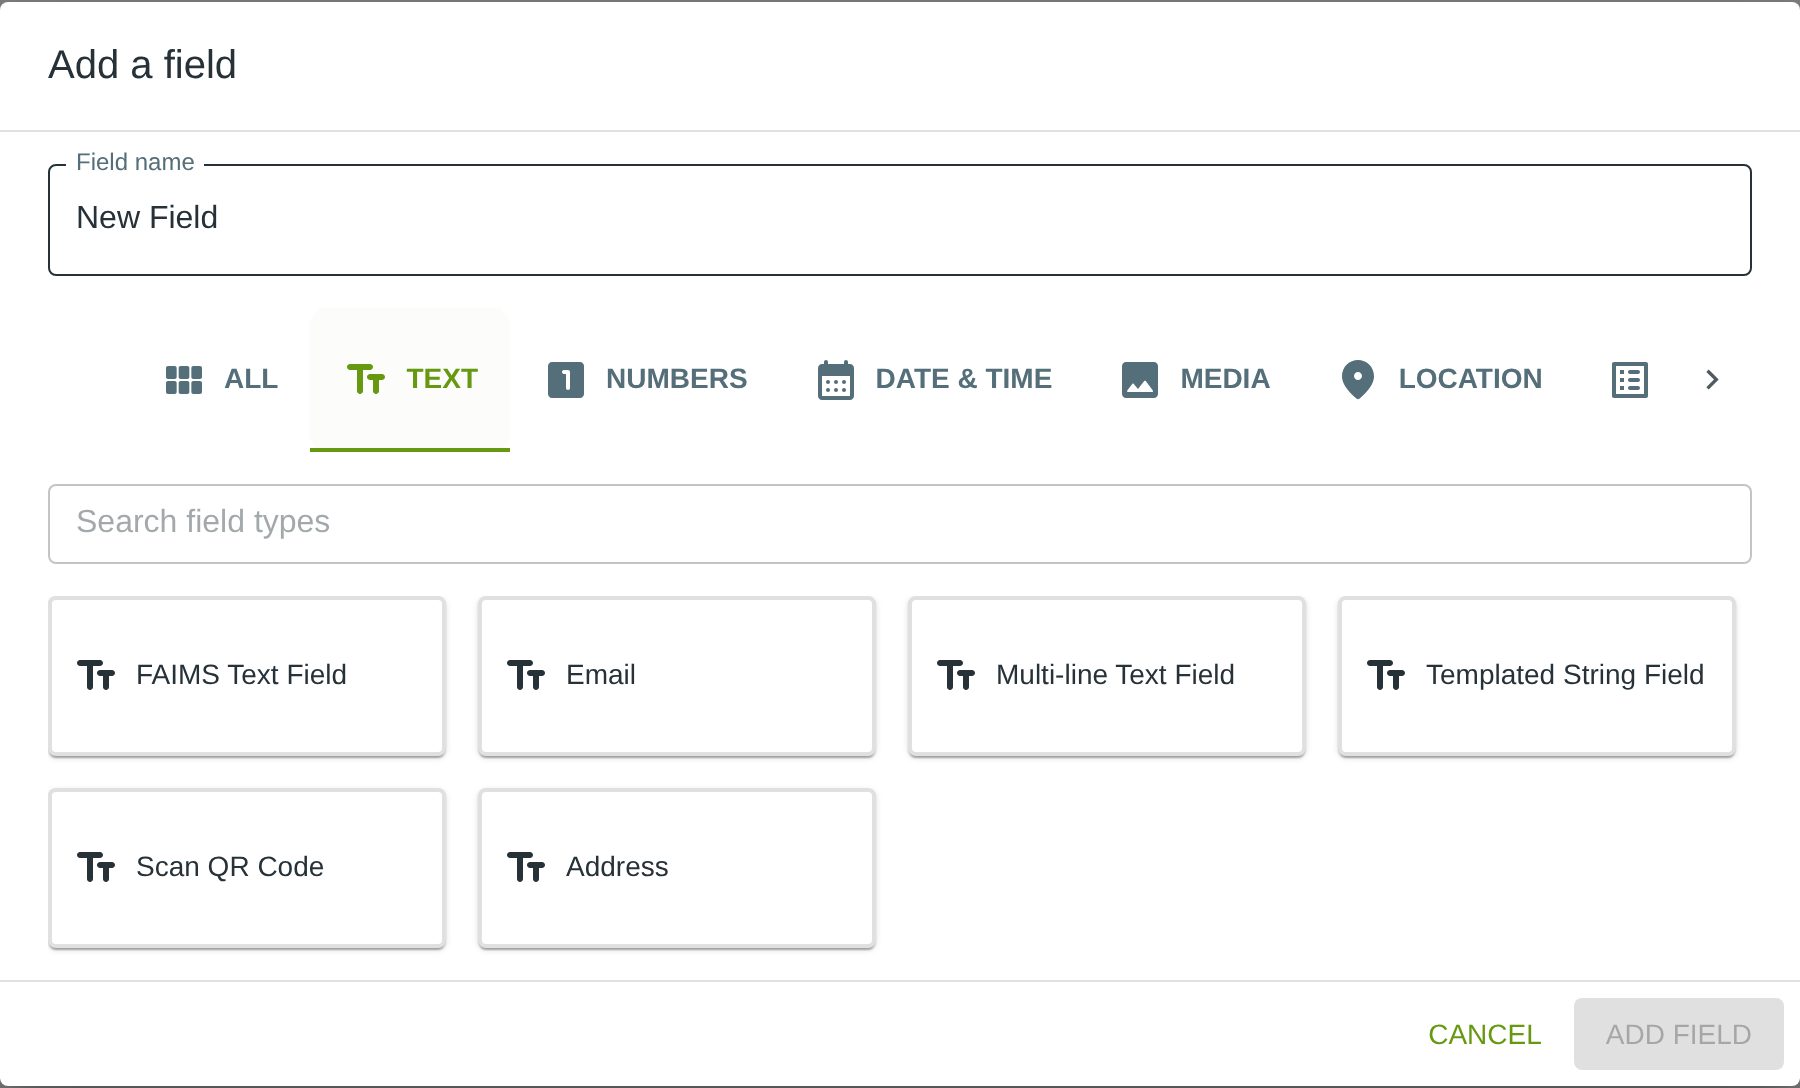
To add this field, open the ADD A FIELD dialog, navigate to the TEXT tab, and click the Email card. Then click the ADD FIELD button in the lower right.
Configuring the Field
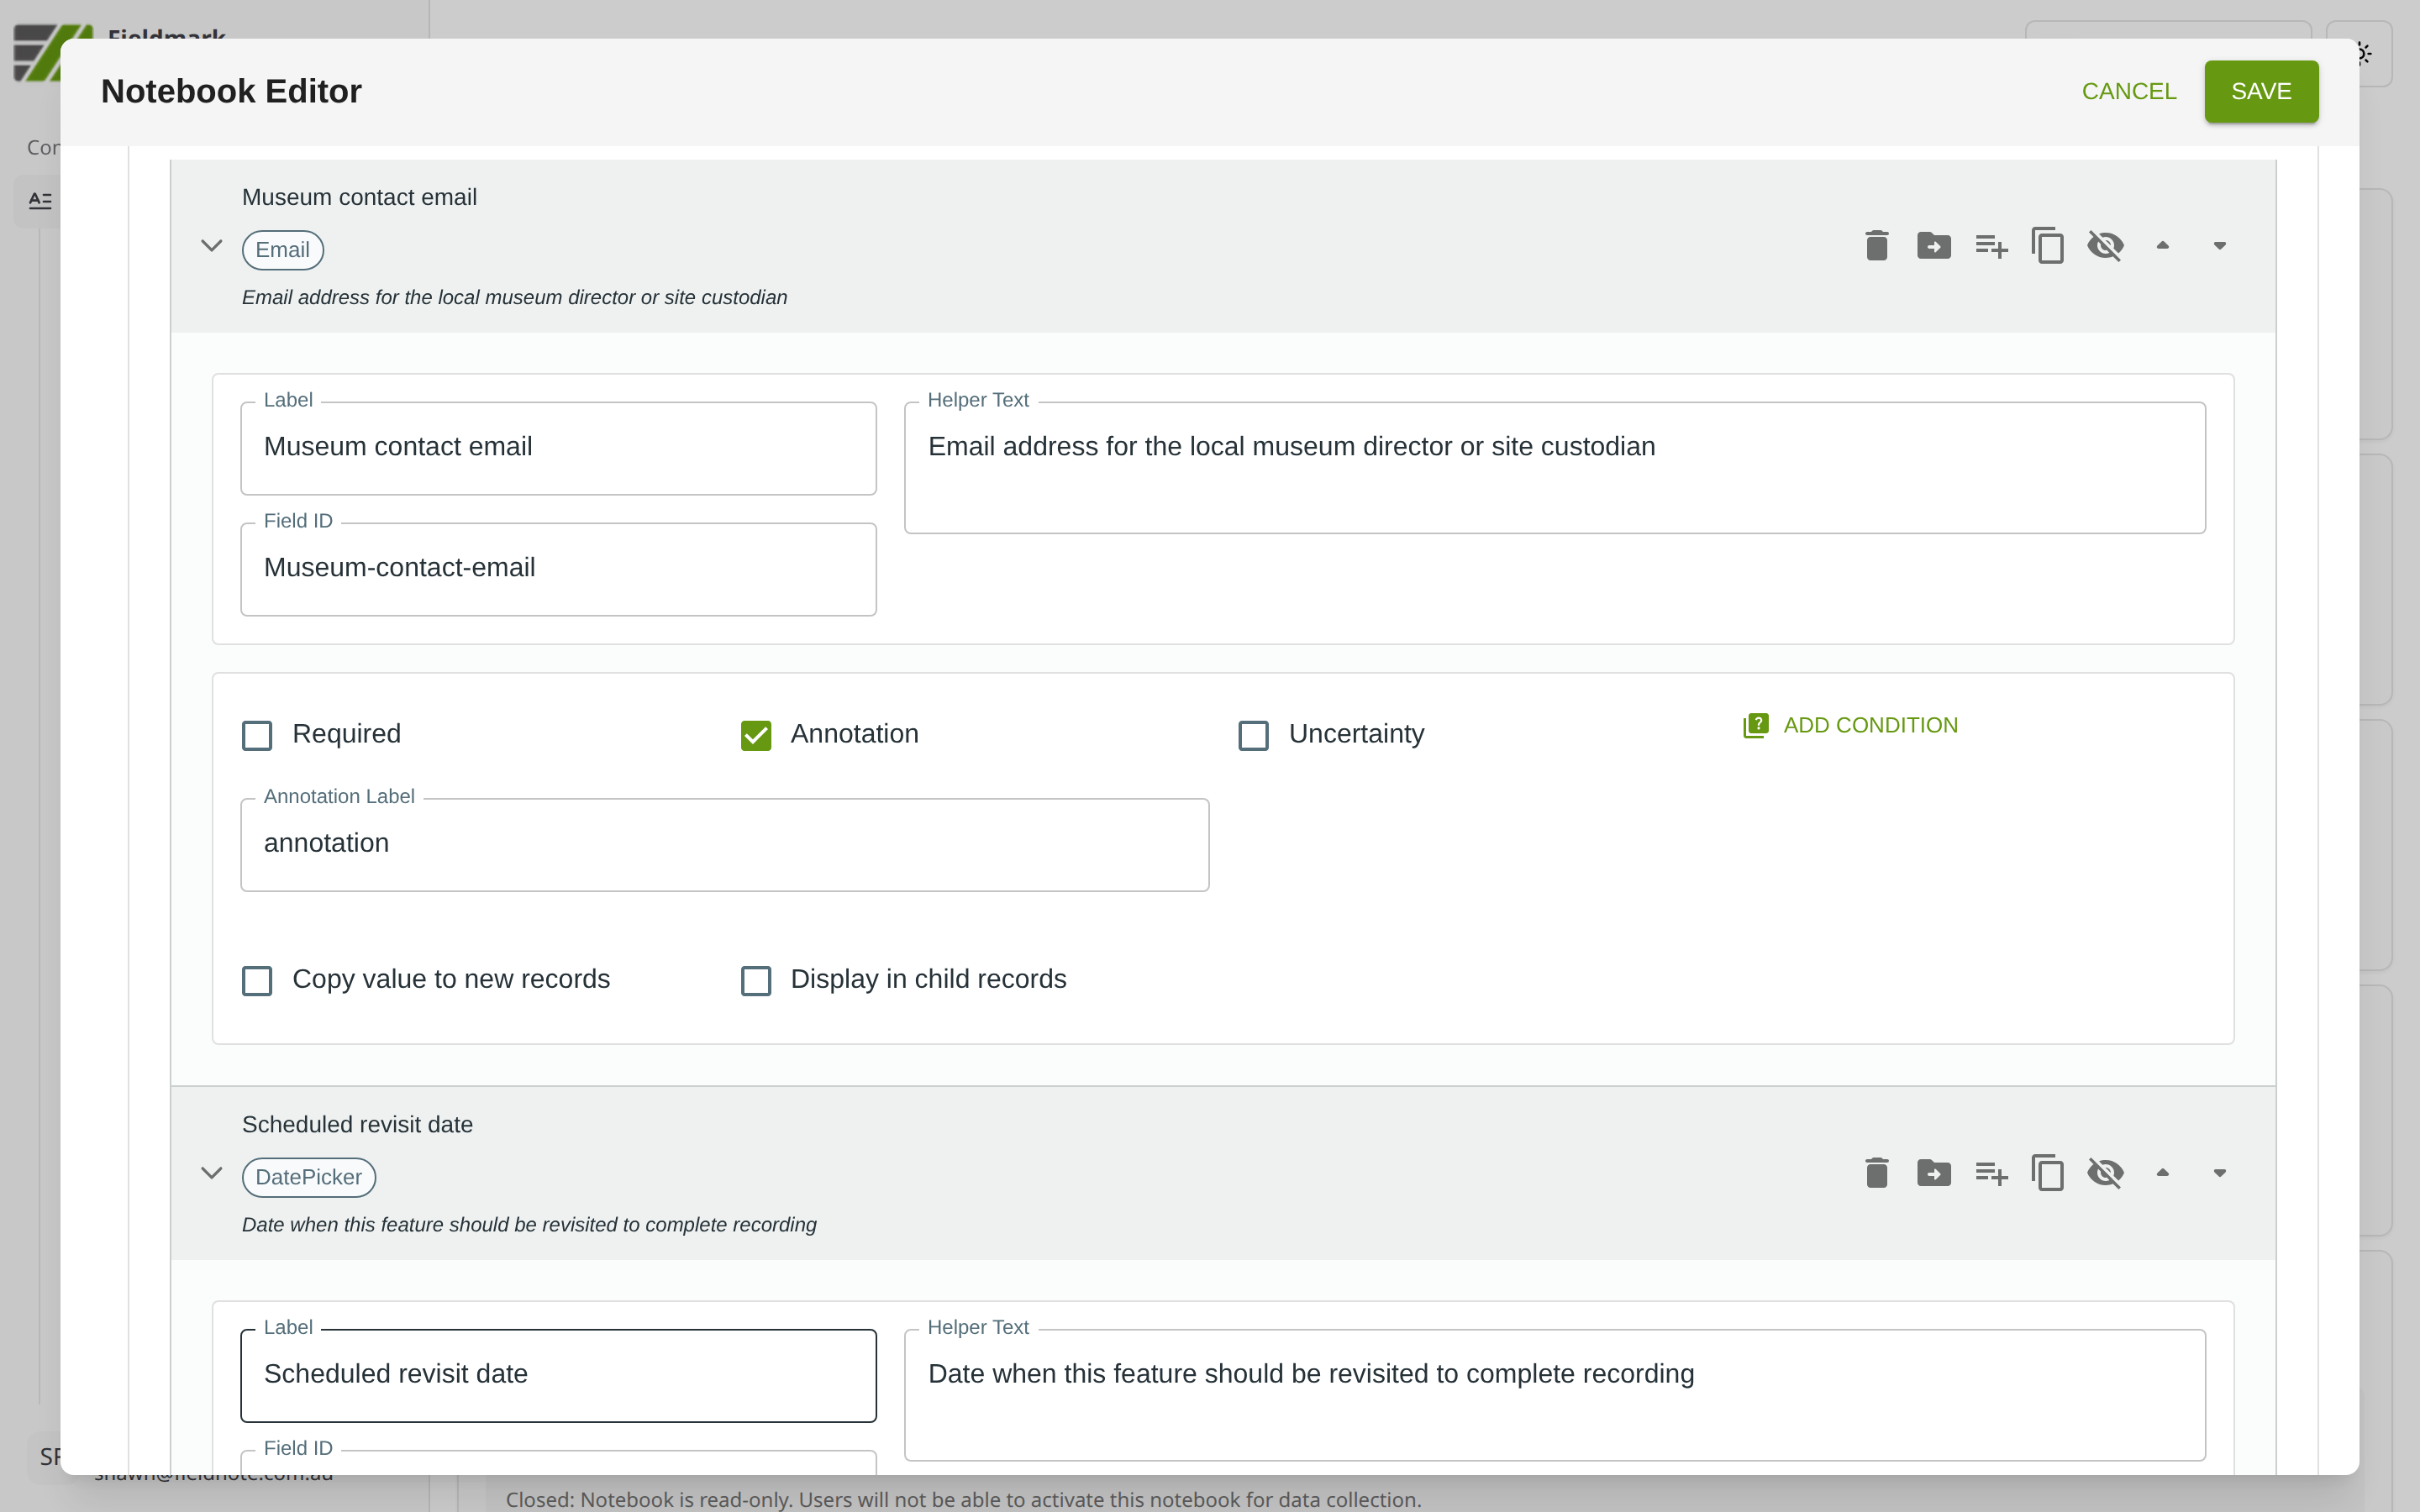
Click the field’s grey header bar to expand it and see its settings. For an overview of the settings shared by all fields — including Label, Helper Text, Field ID, and the field toolbar — see Field Identity and Field Toolbar.
Give the field a meaningful Label, review the auto-populated Field ID, and add any desired Helper Text.
Tips
The email keyboard on mobile (with @ and .com keys) appears automatically — no extra configuration is needed.
Email format validation only checks structure (user@domain.tld), not whether the address actually exists or is reachable.
For multiple contact emails, add separate Email fields (e.g., “Primary contact email”, “Secondary contact email”) rather than trying to enter multiple addresses in one field.
Enable Annotation if collectors might need to note the role or context of the contact (e.g., “site manager”, “weekend contact only”).